Time to check in with our winter sowers! In the past few weeks, we’ve seen a lot of seedling germination. There is some variation, so it may have taken some containers a long time to show anything, but by now they should all have germinated and growing!
Removing the Tops and Watering
The weather has been pretty erratic this month, with some very warm days and some very cold nights. Up to this point, the top of the milk jug or container lid has helped to retain moisture and protect seedlings from temperature extremes and wind. Now that the temperatures have turned quite warm some days, it is important to open the containers up. This allows for good air circulation that will toughen up the plants and prevent fungal diseases. On particularly warm days, leaving the lid on can be very detrimental. Those delicate seedlings can bake in the heat!
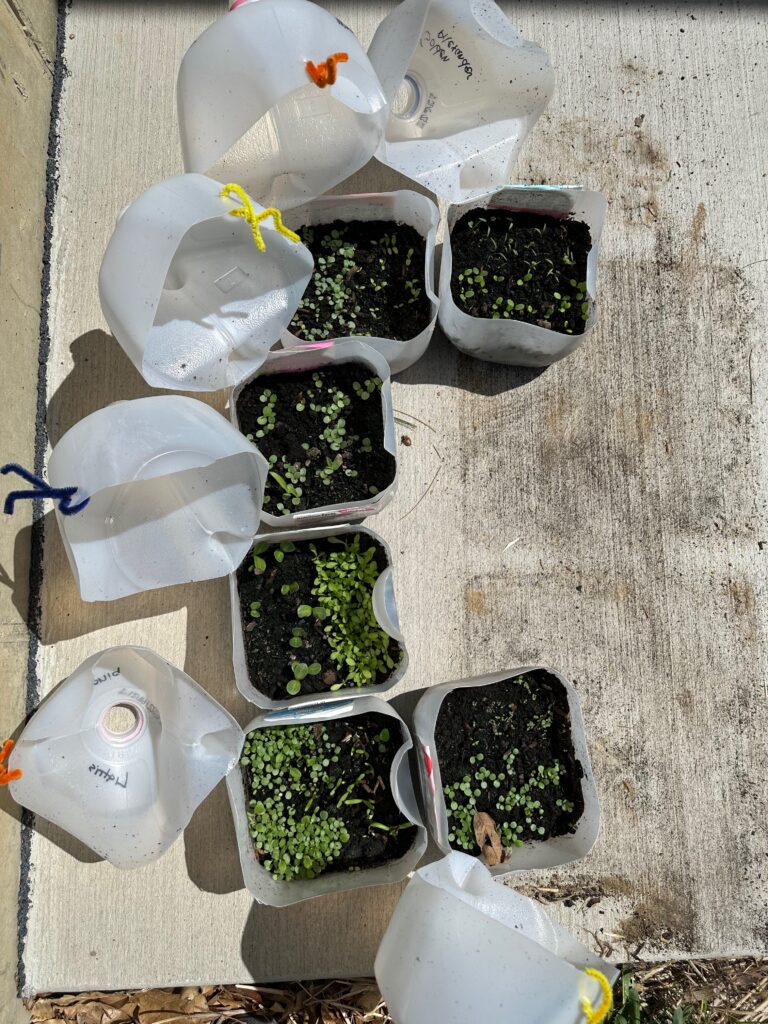
You will also need to pay very close attention to watering needs. One of the fastest ways to kill newly germinated seedlings is to allow them to dry out for too long. Keeping them evenly moist but not waterlogged is ideal. Placing the jugs in a shady location will help them retain moisture for longer.
An easy way to water the tiny seedling is to set the jug in a pan of water. The water will wick up through the drain holes in the bottom of the jug. Once the soil is evenly moist, remove the jug from the water.
If you are growing plants that are ultimately suited to sunny conditions, move the containers where they will get some morning or late afternoon sun as they grow sturdier.
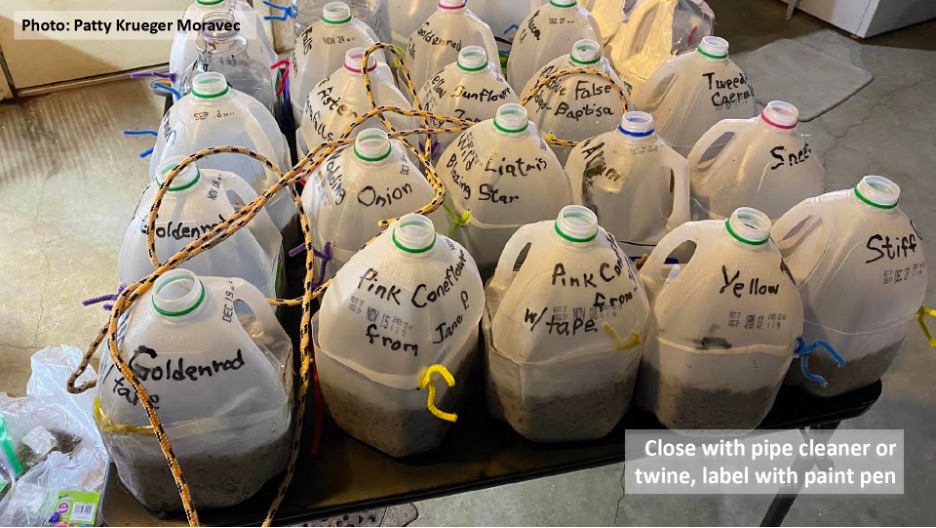
It can be helpful to replace the lid at night. Native seedlings are somewhat tolerant of cold temperatures, having evolved with erratic Midwest spring conditions for thousands of years. It is still worthwhile to give them a little protection at night from the cold, while also keeping out roving critters and retaining moisture.
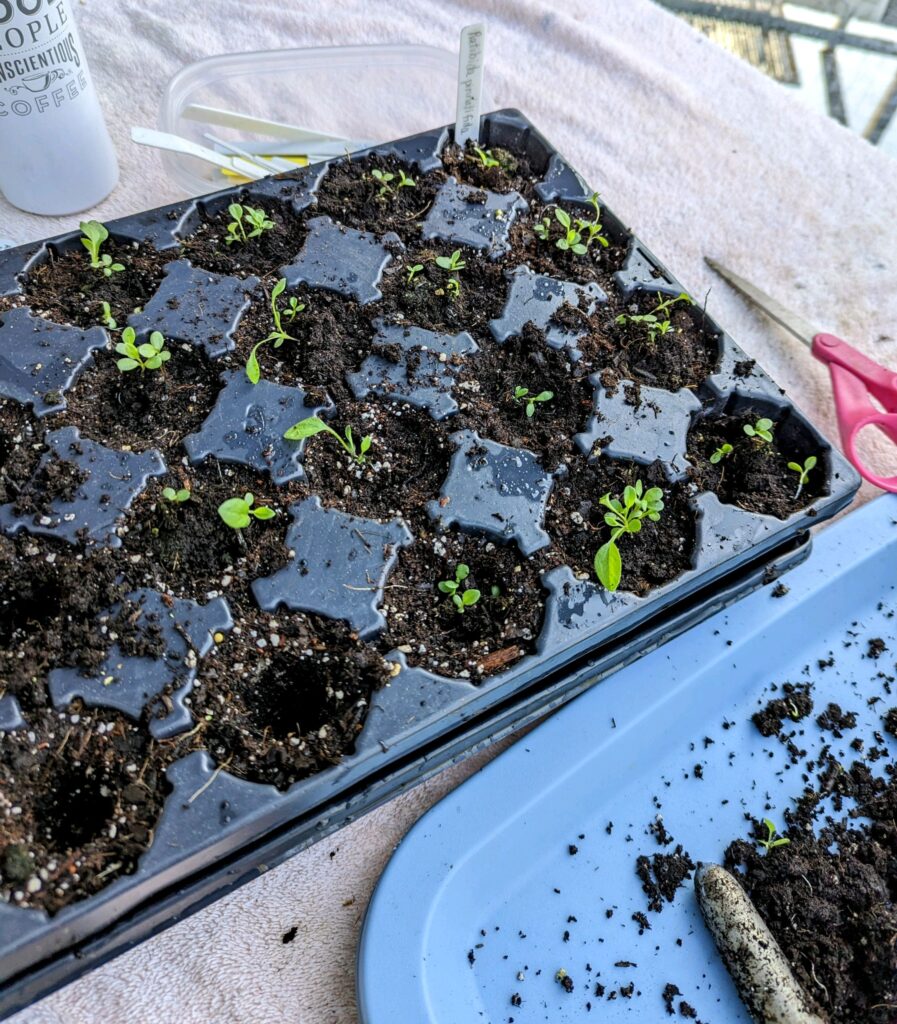
Transplanting
Once the seedlings have their first set of true leaves, you can opt to pot them up to grow on for later planting. We love using plug trays to maximize the number of plants produced, picking out individual seedlings or working out a clump of seedlings to plant in each compartment or container. This will allow the seedling to grow strong roots that transplant easily.

You can also allow seedlings to grow on in the original container to a slightly larger, sturdier size and directly transplant them into a garden location.
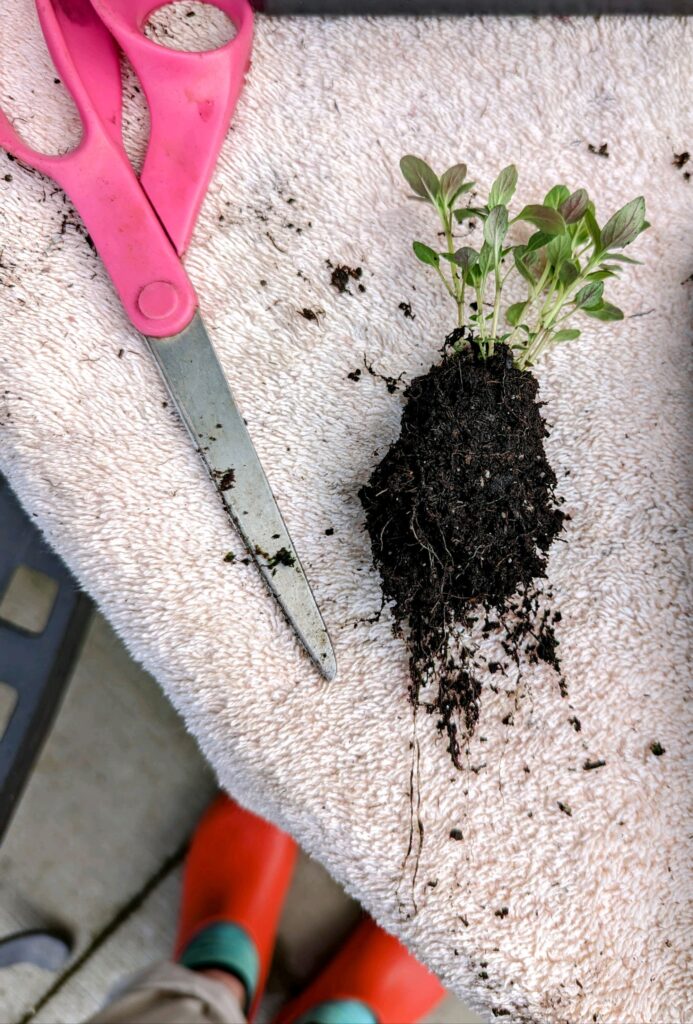
Teasing apart the roots or cutting into chunks at this point will cause more disturbance to the plant than planting those have been potted up and grown longer, so it is ideal to plant these transplants where they might have a bit of protection from the harshest sun and wind, where they can be watered very regularly during establishment.
It can be surprising to see how quickly many native plants take off! It’s not uncommon for some species to bloom in the first year, while others can take up to three years to mature and flower. Before you know it, you’ll be sharing seeds and plants from your own native garden!
We’ve assembled side-by-side images of seedlings to mature plants into the gallery below — Enjoy! For more MCTG blog posts about native plants, the seed sowing workshops, pollinator plants, etc. click on “Native Plants” in the category menu.
Seedling to Plant Gallery
")